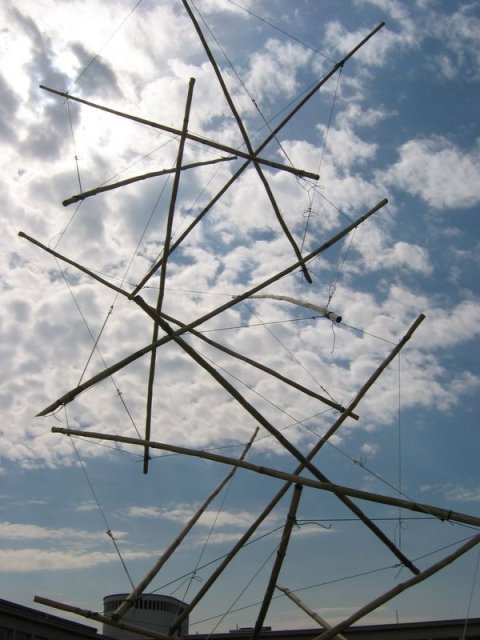
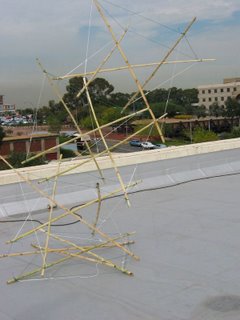
 The final step in setting up the tensegrity tower is in adjusting the diagonal cables to level the structure and make it symmetrical. After the previous post, your tower should look something like the tensegrity above, but will probably not be very tidy- there might be poles touching each other, the lower deck is probably squashed under the weight of the decks above. Again, working methodically around the structure from bottom to top and in the same direction on each deck, tighten the diagonal ropes. You will quickly get an idea for how they interact with each other. Don't be scared to tighten the lower decks by quite a lot to get the tower standing straight. When the tower is leaning in one direction (like this one is: in fact just outside the photo Ross is holding a string to stop this from falling over)
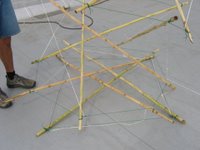 This is a close-up showing how the bottom deck has collapsed, with all poles touching at least one other pole. Tightening the diagonals will fix this. Ideally, you can tighten the diagonals on opposite sides at the same time- if two people work on the tower, this is pretty easy.
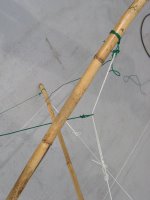 Another kind of failure that can happen if you are not careful is that the mounting loops at the ends of the poles can come untied- what normally happens is that your structure will either collapse completely or you will end up with a rope running up onto one of the other ropes- like this one has. Loosen the diagonal and carefully re-tie the loop.
After a couple of passes around the structure, you should be happy with the symmetry. All that is left now is to place your tower where you want it. There is a little trick here: if you CAREFULLY untie one diagonal in each layer, you can actually bundle your tensegrity up into a small roll like this:
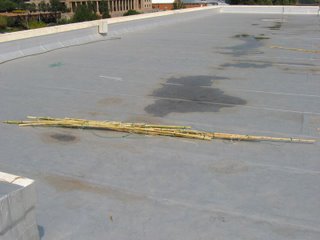
Which is exactly what we did, so that we could set it up in the pond.
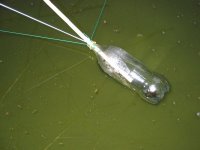 We decided that because the tensegrity tower is so light, we wanted to float it in the pond outside the Architecture building. To do this, we simply placed a 2 litre soft drink bottle onto each leg of the bottom deck, as shown in this photo. We then tied the one leg of the tower to the pipe for the water fountain in the pond, so that it would not float to the edges of the pond. And that's that!
The tower the night we installed it.
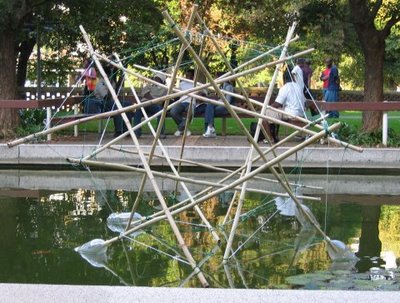
After a few weeks, the cane started to buckle, and the tower would no longer stand. We laid it on it's side and moved the bottles around to turn it into a 'bridge' (By the way, you ca nget a clue for the weight of the structure: 4 2 litre bottles will float at most an 8 kilogram structure, so this tower must have been lighter than that).
NEXT: review of all the tensegrity posts, links to sites, other examples.

1 comment:
this was very informative.Thank you.
MAC.
Post a Comment