UPDATE: download this as a SketchUp model here.
A pontoon ferry is a raft that travels along a cable across rivers - actually called a
cable ferry - There are quite a few places in the world where you can use a pontoon ferry to cross a river in your car (as far as I know there is
only one in South Africa).
What do we need for this project?
A body of water to cross
A rope long enough to cross it
Anchoring points on either side (either trees or tripods with solid anchorages
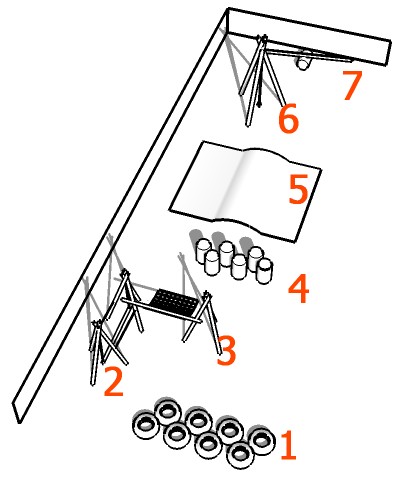
A simple raft design
You can see that the raft design I have used here has 2 large A-frames that the rope through. You could run your rope 2 pulleys but when I built this (way back in 1998 as a Springbok construction project) I found the pulleys created more problems then they solved. A troop of 10 or 15 should be able to build this easily in 2 days, even if they have not built a raft before. The sequencing when I built it was:
day 1 (evening): build raft base, attach barrels
day 2 morning: attach decking,superstructure, prepare anchorages and tripods
day 2 afternoon: launch raft and travel to pontoon location, ferry rope across, attach ropes and tension up
I can't stress this one enough: REMEMBER TO MAKE SURE THE ROPE IS RUN THROUGH THE RAFT BEFORE TYING THE ENDS DOWN. It's rather embarassing to realise that you need to untie your main rope to be able to feed it through your raft.
Two or three people can easily pull a raft like this (with a deck area of 24 square metres- approximately 250 square feet) across a river- once you start moving there is surprisingly little drag. This is a 10 barrel raft, 6 or 7 people can comfortably and safely travel on it.
1 barrel per person on the raft is a good safe number to remember for flotation.
As always when on the water,
remember safety It is best if everyone on the raft is a competent swimmer.

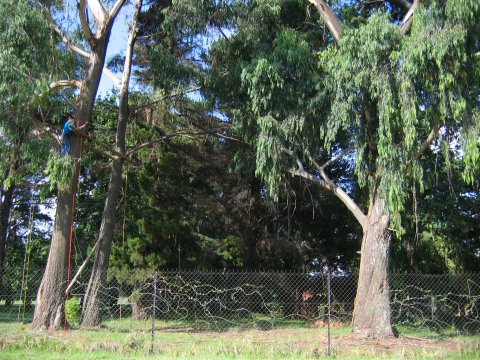
 Lots of progress made today- 6 of us down working on the tree house (although 2 of us don't climb trees so I suppose it's more like 4).
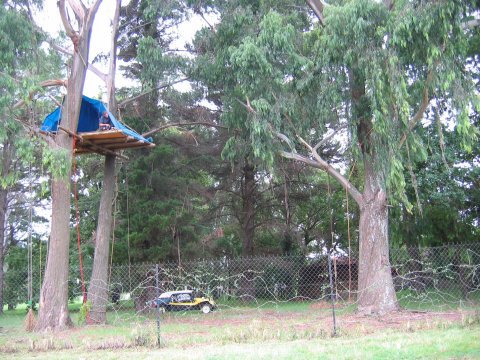 Later on, it started raining so the next step was to build a temporary roof to protect the decking and keep the treehouse dry. This was done using a large tarpaulin.