bridges (18) campsite (28) cartoons (15) centenary (3) discussion (5) experimental (51) gadgets (23) gateways (12) lashings (21) models (9) raft (84) resources (27) sculpture (16) software (22) techniques (42) towers (45) trebuchets (5) treehouses (17) tutorial (9)

March 28, 2006

3d Software for Scout Pioneering

There have been a couple of questions recently about the software I use to make the drawings on this site.
The 3d program I use is called SketchUp, it is unbelievably fast and pretty simple to use in comparison to other 3d software. Recently, the company was purchased by Google. You can download a trial version here, this will run for 8 hours of use- enough time for you to learn the software and build some fairly detailed models (a typical drawing for this site will take me about 15 to 20 minutes). To get a feel for how it works, watch the video tutorials before opening it up and building a computer model of your own pioneering project...

March 26, 2006

Hebrew-English translator sought

An anonymous message on my Israeli super-pioneering post has given me some very intriguing links, this time with in-depth explanations. Unfortunately, I can't read Hebrew, and can't find a decent on-line translating service. If you speak Hebrew (and especially if you are scout) and have a little time to help me translate these pages, please let me know. Thanks.

Kontiki 2006 - Some Rafts

A Kontiki report back should probably include some reference to the rafts at some point :) These are a couple I snapped while doing water patrol on sunday morning.

Team 1, First Eagles, with an Acromantula. Legs are made from 2 litre plastic bottles wrapped in black plastic bags.

Team 29 (1st Kengray)with a Hogwart's Express train. Nice piece of pioneering work- if you look you can see the laths supporting the decorations on the side.

Departing from the Harry Potter theme of the other rafts is this Pirates of the Caribbean ship. Raft number is obscured so I can't say who this was, possibly 9th Irene.


1st Hellenic have hidden their tent inside the sorting hat on this raft, but what I'm really interested in is not the decoration, but the construction material they have chosen: instead of eucalyptus poles, the most common pioneering material in South Africa, they have used PVC drainage pipes- see the detail photo. I imagine there are pretty good weight savings to be made using this material. I'm going to try and find out some more about their success with pipes for pioneering structures... watch this space.

March 23, 2006

Friction-lock table- one-rope pioneering

More reporting from Kontiki- Marc spotted this table at Kontiki, which has been built quite ingeniously. Friction locks the whole table together. There is one rope stopping the entire thing from spreading out and falling apart, running across the table (from left to right,under the table top). No lashings are used at all in this construction.

The original table was made (I think) by 1st Greenside scout troop- if you can confirm this or correct it, please leave a comment for me here. From the photo, I am unable to tell whether the legs are splayed out or parallel to each other, in the drawings above I have made them splayed so that they lock the table-top down.

I imagine that it would be built like this: lay out 4 parallel poles (the ones pointing towards the screen in the drawing and photograph) and tie together (with clove hitches on each pole).
Lift the 2 centre poles you have just tied, place the two cross-poles under these but over the outside poles.
Place table top in centre of table.
Lift table (by the two outside tied poles) and hold up (2 scouts) while the legs are inserted.

Once again, I'd love to hear from the builders of this table, and know how they actually did it.

March 16, 2006

Downloadable pioneering book

Clarke at Scoutmaster blog has put together a great book with pioneering drawings and explanations that you can download as a PDF here. Based on the requirements for the Boy Scouts of America's pioneering merit badge, it covers all of the basics of general pioneering, and is definitely worth looking at. Take a look at the Knots and Pioneering category on Scoutmaster blog here.

March 13, 2006

Step-By-Step Tensegrity Tower

This series runs through the theoretical and practical aspects of building a tensegrity tower

Part 1 : Introduction
Part 2 : Drawings and discussion
Part 3 : Building a model
Part 4 : Assembling the full-size tower
Part 5 : Completing and installing the tower

Links

-Wikipedia article on Tensegrity
-Tensegrity website with photographs and links
-Shelter systems, a company making tensegrity tents.
-Tensegrity model built for Burning Man.
-Tensegrity shade tent, also built for Burning Man.
-Kenneth Snelson's homepage (Snelson invented tensegrity structures)
-Wikipedia article on Kenneth Snelson
-Tensegrity cube kit (sponsored Amazon link)


Step-By-Step Tensegrity Tower part 5

< PREVIOUS MAIN

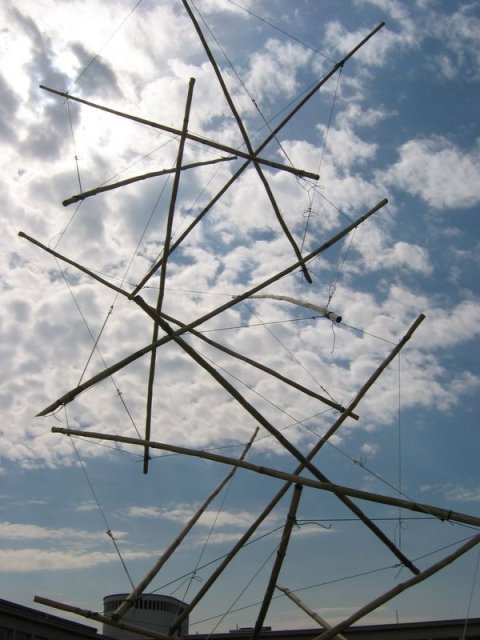
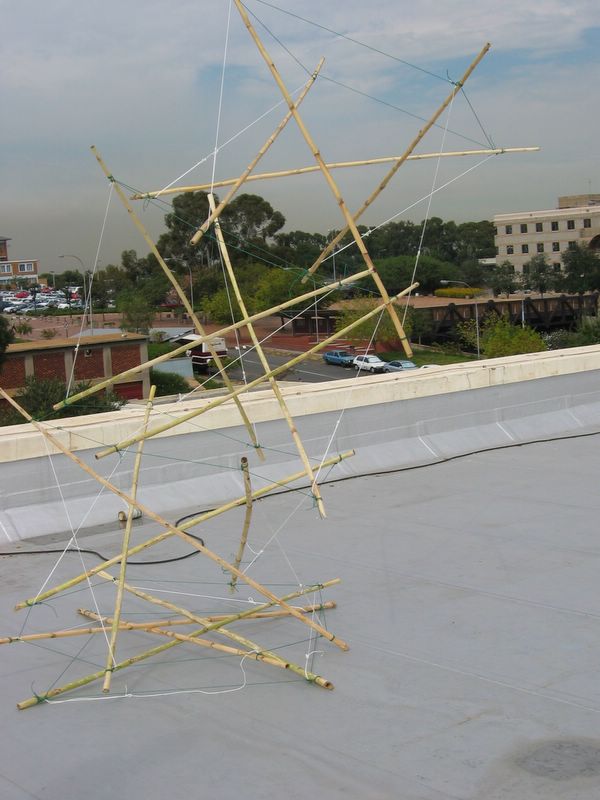
The final step in setting up the tensegrity tower is in adjusting the diagonal cables to level the structure and make it symmetrical. After the previous post, your tower should look something like the tensegrity above, but will probably not be very tidy- there might be poles touching each other, the lower deck is probably squashed under the weight of the decks above. Again, working methodically around the structure from bottom to top and in the same direction on each deck, tighten the diagonal ropes. You will quickly get an idea for how they interact with each other. Don't be scared to tighten the lower decks by quite a lot to get the tower standing straight. When the tower is leaning in one direction (like this one is: in fact just outside the photo Ross is holding a string to stop this from falling over)

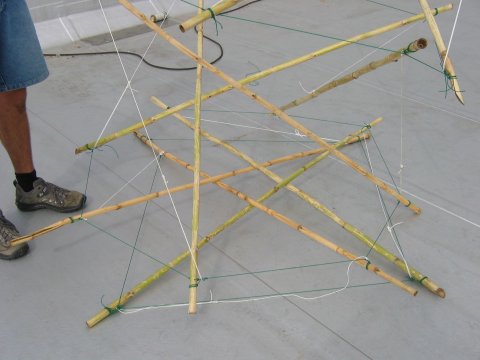
This is a close-up showing how the bottom deck has collapsed, with all poles touching at least one other pole. Tightening the diagonals will fix this. Ideally, you can tighten the diagonals on opposite sides at the same time- if two people work on the tower, this is pretty easy.


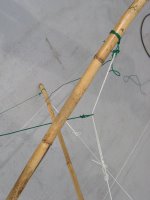
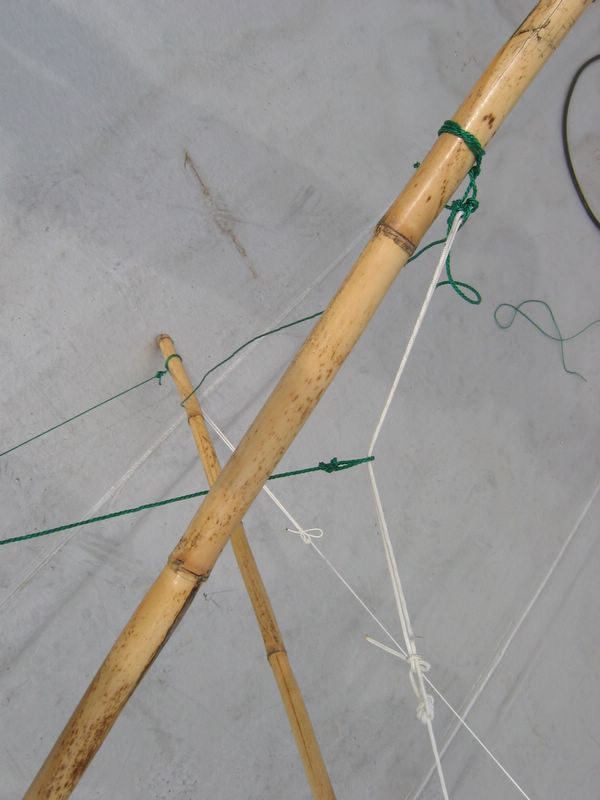
Another kind of failure that can happen if you are not careful is that the mounting loops at the ends of the poles can come untied- what normally happens is that your structure will either collapse completely or you will end up with a rope running up onto one of the other ropes- like this one has. Loosen the diagonal and carefully re-tie the loop.

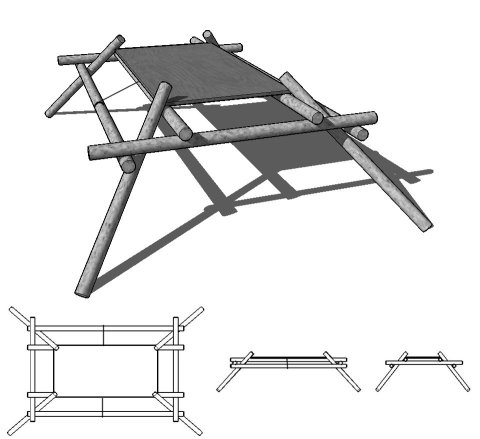
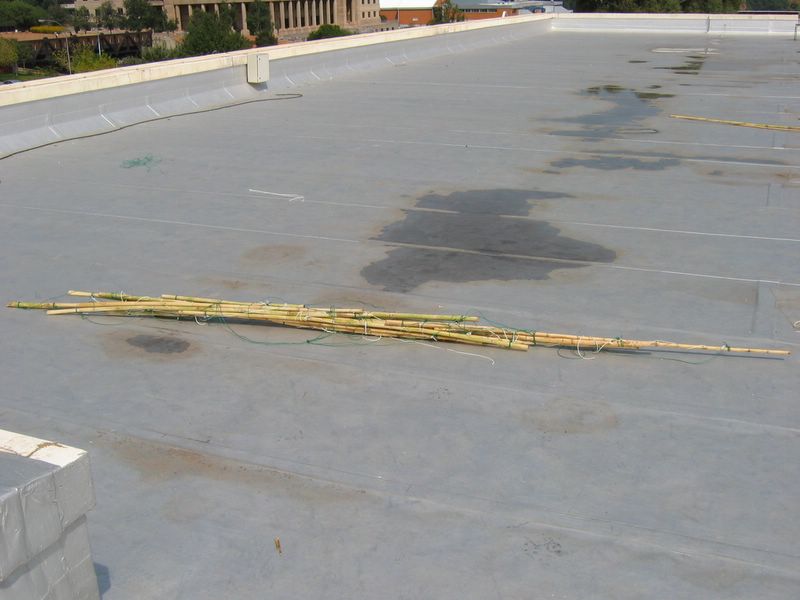
After a couple of passes around the structure, you should be happy with the symmetry. All that is left now is to place your tower where you want it. There is a little trick here: if you CAREFULLY untie one diagonal in each layer, you can actually bundle your tensegrity up into a small roll like this:

Which is exactly what we did, so that we could set it up in the pond.

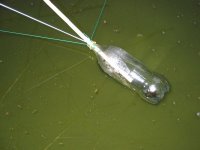
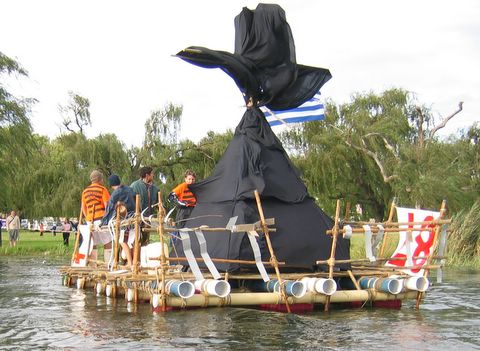
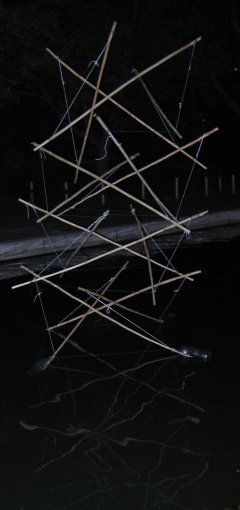
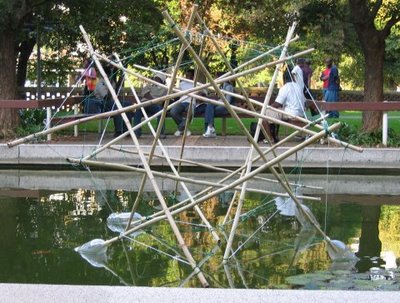
We decided that because the tensegrity tower is so light, we wanted to float it in the pond outside the Architecture building. To do this, we simply placed a 2 litre soft drink bottle onto each leg of the bottom deck, as shown in this photo. We then tied the one leg of the tower to the pipe for the water fountain in the pond, so that it would not float to the edges of the pond. And that's that!


The tower the night we installed it.


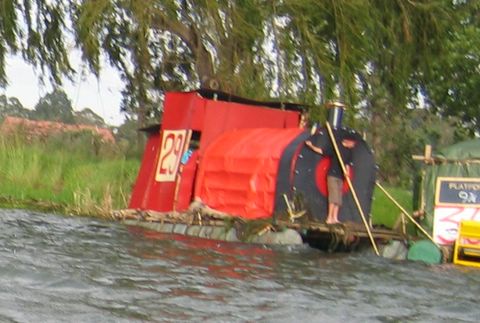
After a few weeks, the cane started to buckle, and the tower would no longer stand. We laid it on it's side and moved the bottles around to turn it into a 'bridge' (By the way, you ca nget a clue for the weight of the structure: 4 2 litre bottles will float at most an 8 kilogram structure, so this tower must have been lighter than that).

NEXT: review of all the tensegrity posts, links to sites, other examples.