< Previous Main Next > 
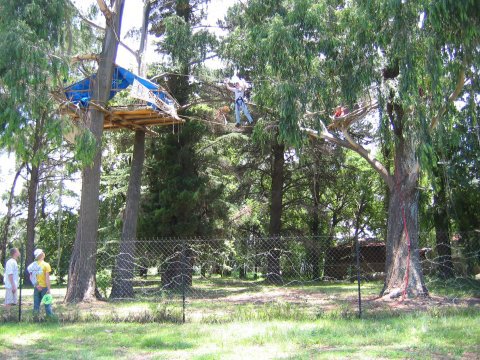
Day 6 of the treehouse and we added the platform in the tree on the right. We decided to try prefabricating the platform on the ground and raising it up in one piece. Day 7 consisted of lashing the platform and running the commando bridge lines across.
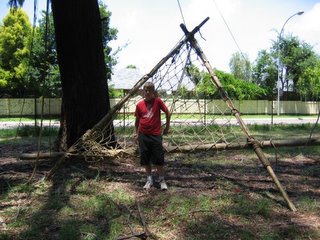 The platform itself is a triangular frame with a cargo net stretched over it. It was to rest on the tree at 3 points, hence the triangular shape. Once we got into the tree and started raising the frame up, we realised there were a few difficulties.
1) Raising the frame. We had lines running up over the tree at 3 points, tied to the frame at the corners. One of these ran through a pulley, the other 2 were running straight over branches. The friction on these made it difficult to raise the frame up. We raised the frame by lifting each corner up about 1 metre at a time, then securing the rope and moving around to the next corner to raise it. We discovered a very useful way of working with a removable block to tighten these ropes: a pulley is attached to a prussik knot which is fastened to the line, you then use the pulley to tighten up the rope and raise that corner of the structure before taking up all of the slack in the loose end of that rope, tying it off and removing the tackle and prussik loop,which can be moved to the next tree. I will post this as a seperate item next week.
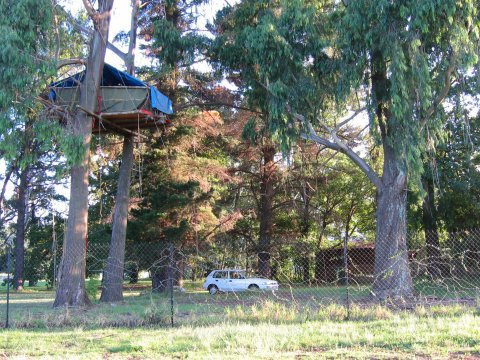
2) Securing the frame in the tree. We were limited in branches where we could place the ropes to lift the platform up, so we ended up running them over the branches where we wanted the poles to rest. This created a bir of trouble for us when we came to secure the platform, and while 2 of the poles are resting directly on forks in the tree, the third end is hanging about 30cm under the branch it was meant to rest upon. This corner is attached via a binding- a figure-8 wrapping like you can see on the camel raft.Once raised up into the tree, the frame turned out to be very difficult to manhandle from in the tree.
3) Levelling the frame. As it is installed, our platform slopes quite dramatically. Our dimensions for the frame were more or less accurate, but in the process of raising the platform up, it became wedged against the main stem and we were unable to maneouvre it free. The slope may end up working towards our advantage, though. The slope is facing towards the treehouse and a sloping cargo net makes a rather comfortable hammock.
The bottom line is that prefabrication might have saved us a bit of time, but gave us a few headaches too. The nature of this sort of pioneering is that you are working things out for the first time as you go along. Sometimes the solutions are easy or obvious, sometimes less so. In other cases eg. camp gadgets and rafts, prefabrication is an obviously good thing. For treehouses, it is difficult to say,but I suspect that with this particular platform, prefabrication was slightly easier than building it in the tree, particularly when it comes to tightening the cargo net.
After the platform was secure (thanks to Jacques for spending hours in the tree working on that) we started running the lines across for the commando bridge. These are attached at one end with a round turn and 2 half hitches, then tightened using our main block and tackle (that we use to raise people and equipment into the treehouse) and the prussik trick described above. then tied to the tree at the treehouse end using a round turn and 2 half hitches as well.
The commando bridge will be completed on Monday, when I will post the final sequential photo of the treehouse and also do a 'tour' showing all the features of the treehouse.

 ) in the address bar and adding my site as a 'live bookmark'. Alternatively, you can use Bloglines or Google Reader to read feeds from this site and literally thousand of others. Click this link to add my site as a feed.