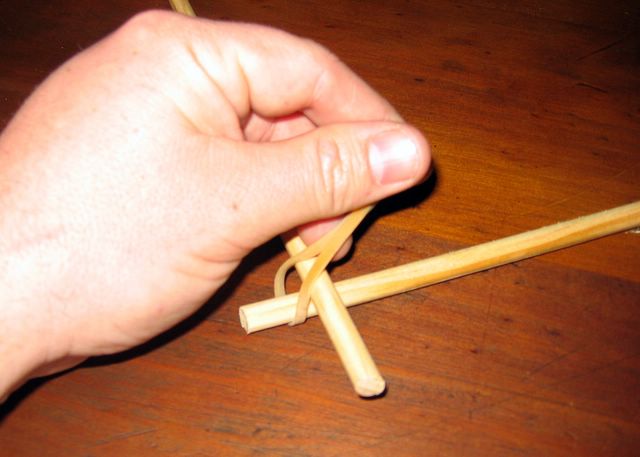
The drawing for this camp couch has a simple square lashing modelled in SketchUp. This tutorial follows on from the previous tutorials on using SketchUp for scouting. If you are new to SketchUp, download it (for free), read the first tutorial on this site and then get going with the square lashing:
 Start in Sketchup with 2 poles (at right angles to each other in this case).
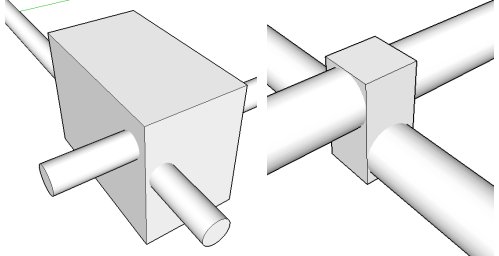
Use the rectangle tool to draw a rectangle underneath the 2 poles, then use the PushPull tool to extrude the rectangle up into a box. Using the PushPull tool, resize the box until all six faces if the box (4 sides, the top and bottom) are just touching the poles, like the image on the right above.
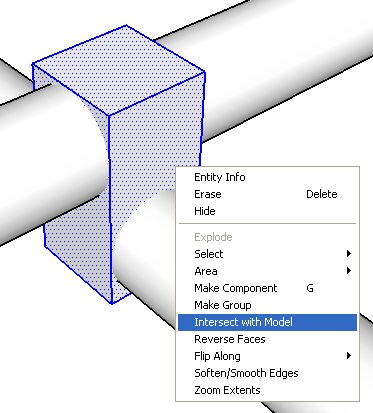 Drag a selection window around the box, and then right-click and on the menu that pops up, choose 'intersect with model'. This will add a 'seam' where the poles pass through the box.
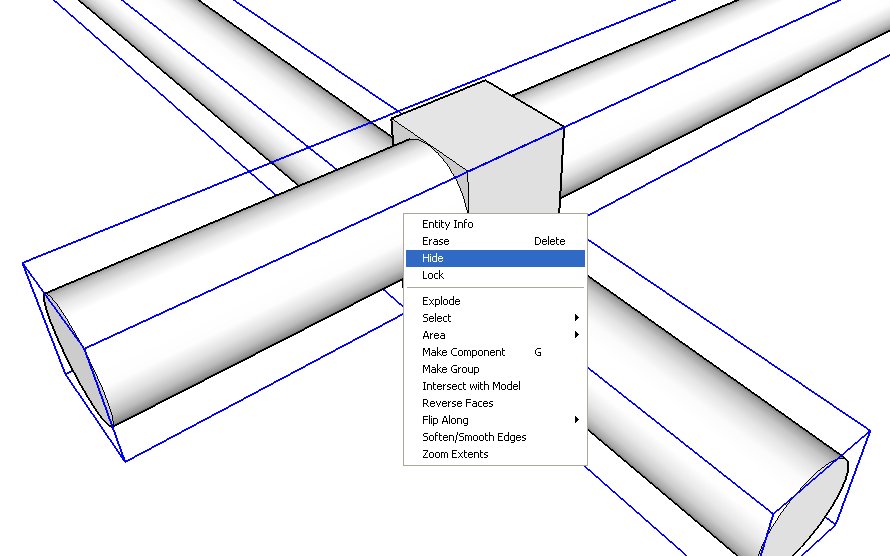 Select the two poles and right click to bring up the context menu, then choose hide. (The poles in this image are surrounded by boxes because they are components. Read the first tutorial to see why components are important)
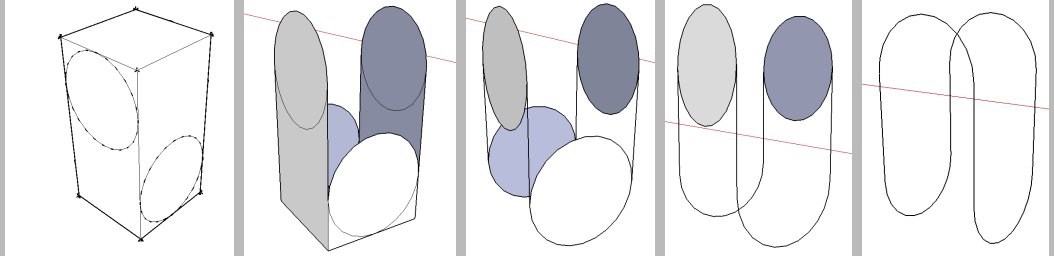
Now that the poles have been hidden, you can concentrate on the rectangular block, which is what your lashing will be made from. Using the erase tool, remove all the lines that are unnecessary, following the steps above to produce a simplified sketch of a square lashing.
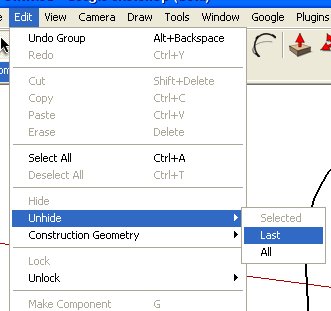
When you are done, go to the 'Edit' Menu and unhide 'Last' to show the poles again.
 Zoom out and take a look. The lashing wraps around the poles. but is missing frapping turns. Use the line (pencil) tool to draw in the frapping turns, joining the centrepoints of the 4 vertical lines together (the square snap indicator will turn light blue when your mouse is over a centre point)
 Select the face created in the middle and hit the delete key to finish your lashing. This sort of lashing might seem very simple when viewed up close but when you zoom out it is quite effective. It is possible to model a lashing in SketchUp with 3 full turns of rope and 3 frapping turns, but aside from the time it would take to make that model, it would also slow your computer's performance down a lot. The method demonstrated here is very kind to your computer, causing almost no loss in speed when working with a model.
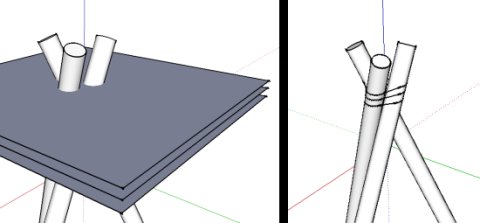 A similar technique can be used to make round lashings- the two photographs above should give an indication of how this works.